
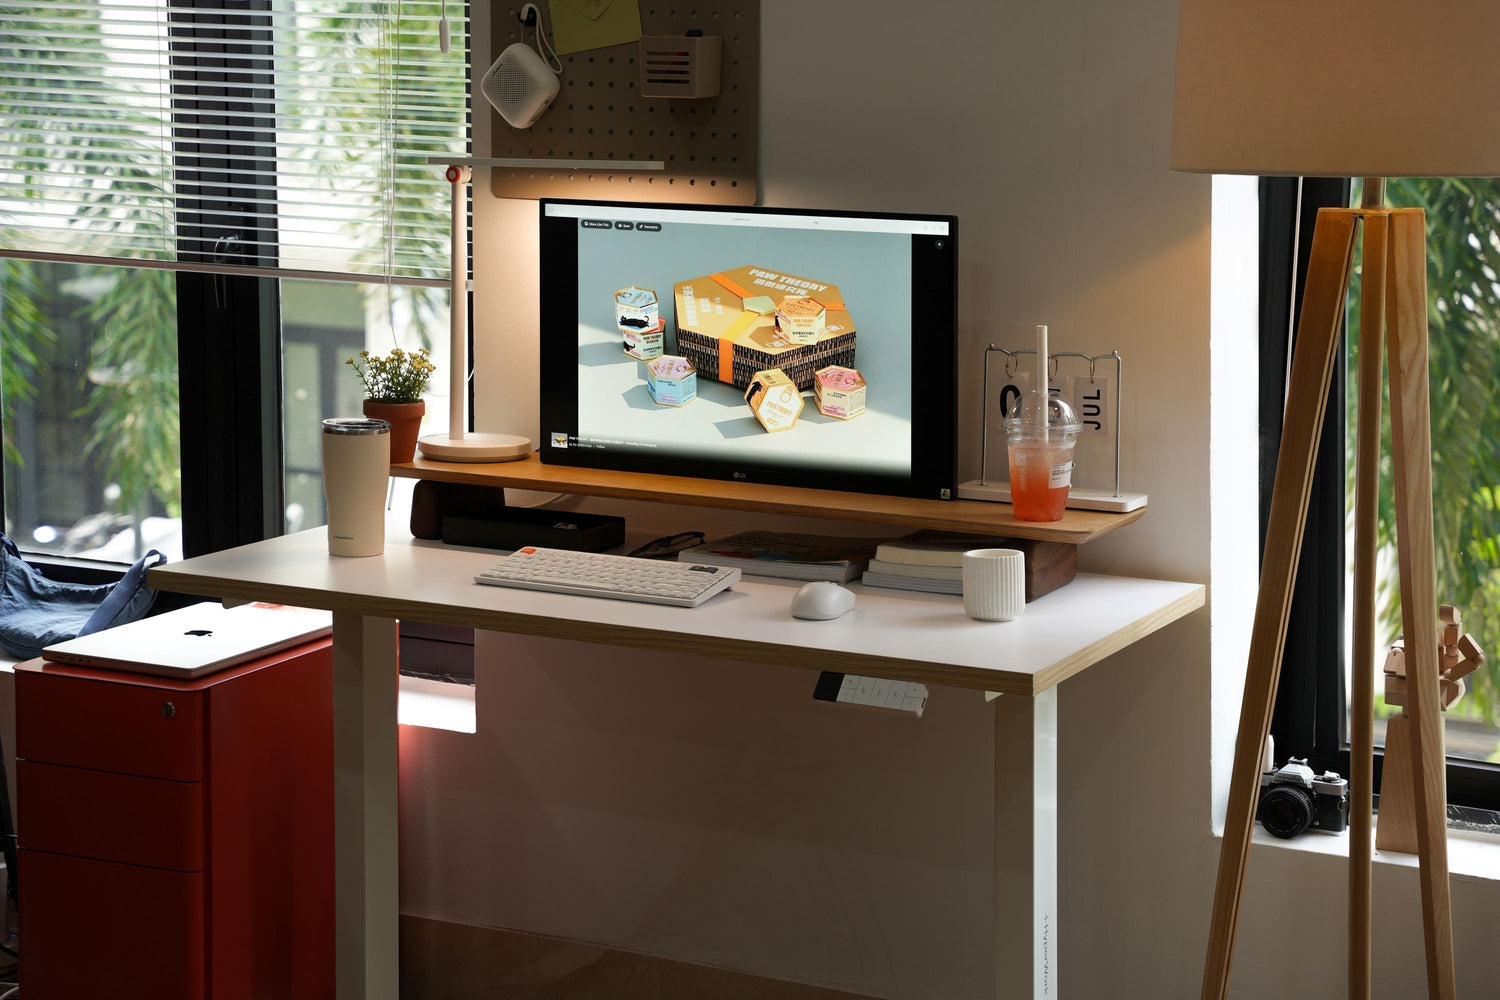
Standing desks offer flexibility, but in return, the setup—especially cable management—is significantly more complex than with fixed desks. The desktop is constantly moving, while dozens of devices bring more cables and bulky adapters; without proper preparation, you'll face a difficult-to-handle mess.
The good news is: a standing desk setup can be completely neat, clean, and safe if you understand how the standing desk operates and organize your cables systematically.
Understand the movement of a standing desk
Before plugging in any wires, you need to understand how a standing desk functions differently from a regular desk. A standing desk typically has an operating range of about 70-120 cm. When the desktop moves, every cable plugged into devices on the desk must move with it. This creates two critical points:
- Fixed points: wall outlets, desk legs, or cable trays.
- Moving points: desktop, monitors, laptops, mic arms/monitor arms.
Cables must be routed so that when raised or lowered, they are not strained but also don't have excessive slack that looks untidy.
Therefore, there is one way to ensure this: try raising the desk to its highest level, measure the longest cable run required, and add an extra 10-20 cm. This is the necessary slack to prevent cables from being pulled or damaged during long-term use.

Plan before you setup
Setting up a standing desk should never start with immediate plugging. You will save a lot of time if you plan ahead.
1. List all equipment
Write down everything that will be placed on the desk: Laptop, PC, monitor, hub/dock, webcam, speakers, microphone, lights, chargers, monitor arm, etc. For each device, identify how many cables it has, including power and signal cables.
2. Identify power outlet & fixed device locations
The outlet location determines the main path of the cables. Is the outlet on the floor, on the wall, or right next to the desk leg? If the PC case is on the floor, you need a separate bundle of signal cables from the monitor to the PC. If the PC is on the desk, you need to route cables neatly in the same direction.
Comprehensive cable management solutions for standing desks
1. Organize the power source
Instead of letting each adapter run down to the floor and then pulling the cables up, you should create a fixed power station right under the desktop.
Implementation: Attach a power strip directly under the desktop. Plug in all adapters for monitors, laptops, lights, docks/hubs, and microphones/interfaces. From this strip, lead only one main power cable down to the wall.
Useful accessory: CM03 cable tray (clamp or screw mount), 20 kg load capacity, suitable for securing heavy power strips/adapters.

2. Optimize cables on the desktop
Cables on the desktop are often the most prone to clutter. Gather and secure them at a single point before routing them underneath.
Solution
- Use cable clips to hold laptop and phone charging cables at the edge of the desk.
- With monitor arms, route cables along the arm and secure them with cable management clips.
Useful accessory: Velcro Tape to bundle similar cables together (power - signal - audio).

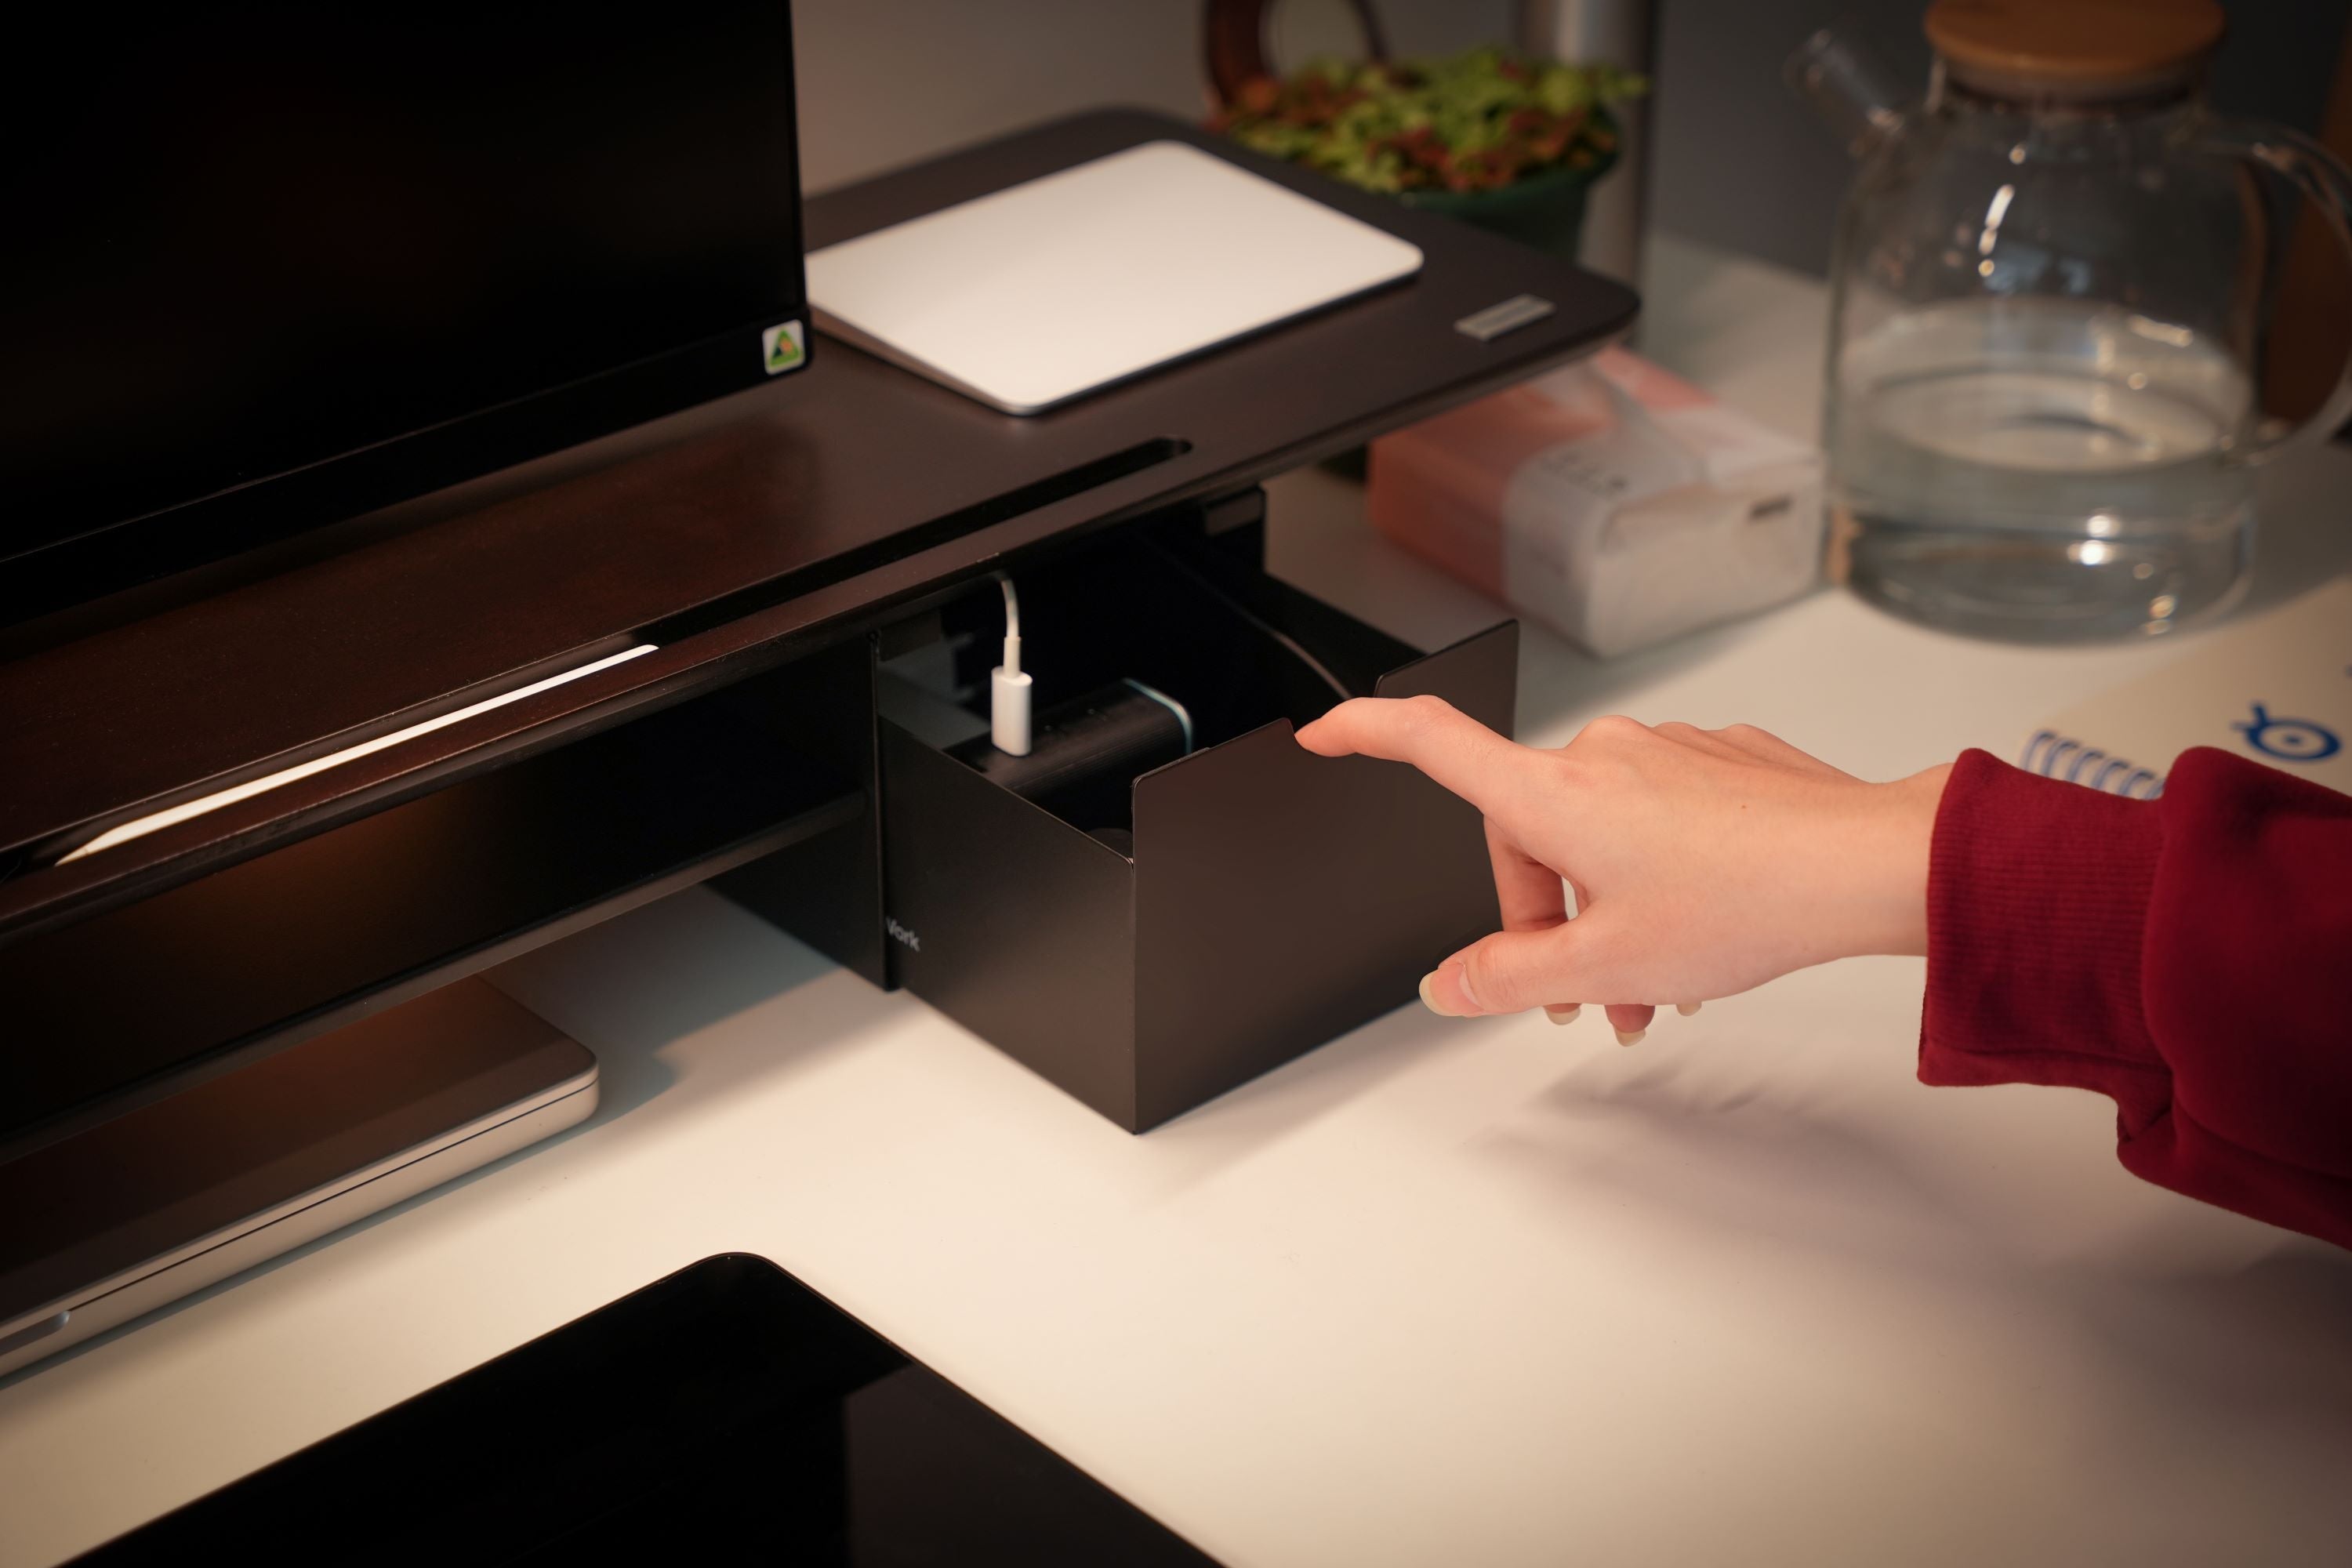
3. Optimize cables under the desktop
Use a cable tray to house all adapters, excess cables, and power strips. Coil excess wire with Velcro Tape and place it in the tray to avoid dangling. Organize cables by group for easy troubleshooting and maintenance.
4. Route cables along the desk legs
When you raise the desk, the cables running from the tray to the outlet must bend with the desk rather than being pulled taut.

Solution
- Use flexible cable sleeves or a "cable spine" to bundle all wires from the tray to the floor.
- Secure the starting point under the tray and the end point at the floor.
- Ensure the length is sufficient so that when the desk is high, the cable follows a curved path rather than being stretched straight.

In summary, here is a workflow to make your standing desk cable management easier:
Before setup
- List all devices & cables
- Check power outlet locations
- Prepare trays + Velcro Tape
During setup
- Test the desk at its highest height to check for cable tension
- Secure adapters into the tray
- Group cables and bundle with Velcro
After setup
- Raise and lower the desk 3-5 times to check cable movement
- Ensure no cables are dragging on the floor
- Label cables or use color-coded straps for easy maintenance.


Leave a comment
This site is protected by hCaptcha and the hCaptcha Privacy Policy and Terms of Service apply.